

Few skills in ice hockey can change the course of a game as quickly as the one timer. The beauty of the move lies in its efficiency; when executed well, it blends precision with power in a way that keeps goaltenders guessing and defenders scrambling.
Mastering the one timer in hockey demands a delicate mix of hockey fundamentals, sharp positional awareness, and the right equipment. It also requires understanding related shooting techniques—like slap shot mechanics and the differences between a wrist shot and a quick-release blast—to adjust for different game situations. Whether you’re a forward looking to finish plays or a coach designing passing and shooting drills to sharpen your roster’s skills, building this shot into your arsenal can be a game-changer.
Why the One Timer Is a Game-Changer
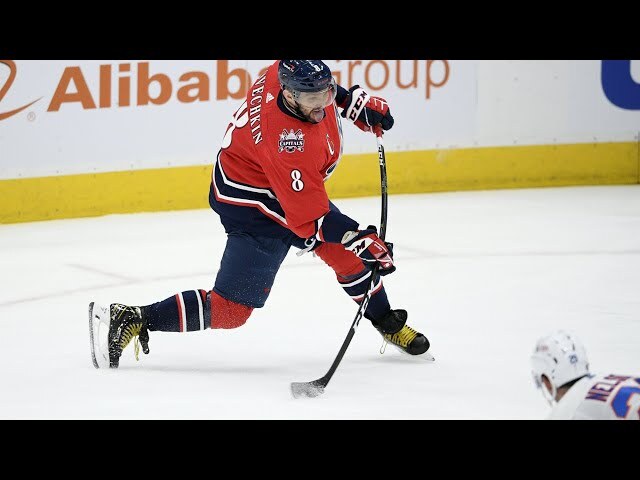
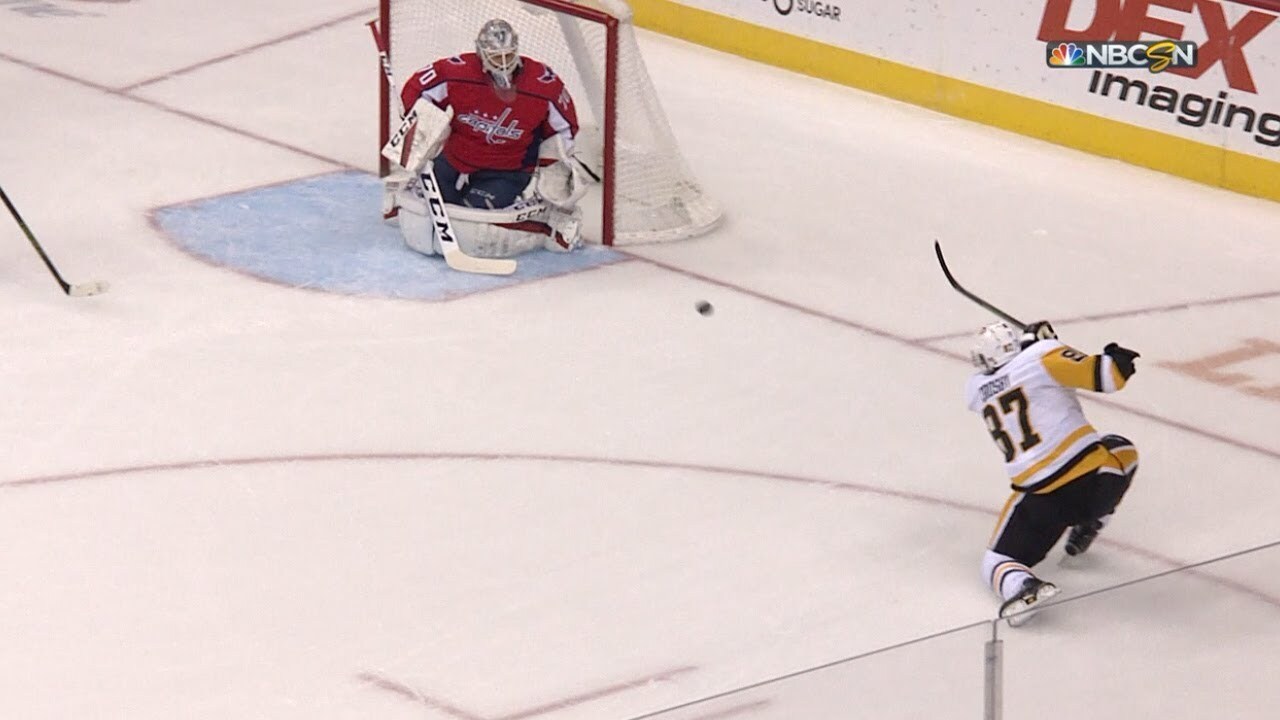
 A one timer in hockey is a shot taken directly off a pass, without stopping the puck first. By eliminating puck control time, it creates a faster, more deceptive scoring opportunity. Goaltenders have less time to react, and defenders struggle to adjust, making it one of the most effective scoring techniques in the sport.
When executed correctly, a one timer combines timing, power, and accuracy into a single, fluid motion. This efficiency can turn a routine pass into a high-quality scoring chance—whether during even-strength play or while applying power play strategies against a set defense. Combine this with strategic setups—like positioning for a rimmed puck along the boards or dialing in your stick flex for one timers to maximize shot velocity—and you have a weapon capable of breaking through even the most disciplined defenses.
How to Do a One Timer: Mechanics and Movement
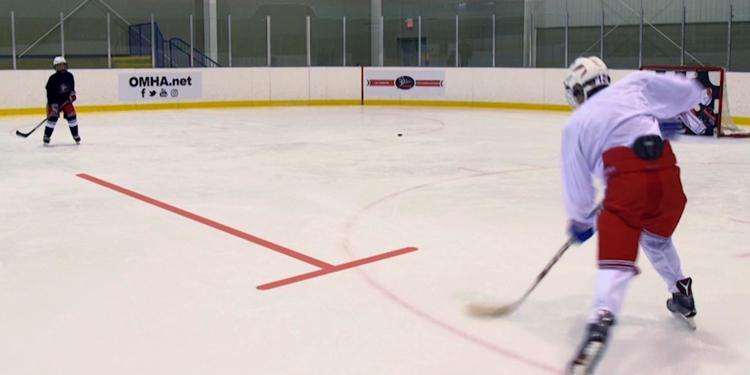
Perfecting the one timer starts with understanding the mechanics. Your stance should be balanced, with knees bent for stability and weight distributed evenly. As the pass approaches, shift weight from your back foot to your front foot while rotating your hips and shoulders through the shot.
The blade angle must be slightly open to guide the puck toward the target. Too closed, and the puck stays low; too open, and it sails high. Mastering how to do a one timer requires repetition, as each pass will arrive at a slightly different speed and angle. Training with varied puck speeds and angles will help you react faster and keep your release consistent under pressure.
Common mistakes include rushing the shot, over-swinging the stick, and mistiming the pass. These reduce accuracy and limit shot power; adding passing and shooting drills to your practice routine can improve your timing, blade positioning, and follow-through.
Timing and Footwork: The Secret to Consistency
 In the one timer, timing and footwork are as critical as raw shooting mechanics. Foot placement determines both balance and the direction of your follow-through. For a right-handed shooter, the left skate should point toward the target as the puck arrives, while the right skate angles slightly back for support.
Players should begin moving to receive a pass just before it’s delivered, using quick, controlled strides to meet the puck. This ensures momentum flows into the shot, producing more power and control. Incorporating hockey shooting tips like aligning hips with the net before contact can boost consistency. The more comfortable you are adjusting your stance mid-motion, the more reliable your one timer will be under real game pressure.
Stick Selection for One Timers
 Your stick can make or break a one timer opportunity. Features such as flex, curve, and kick point influence release speed and puck trajectory; a lower kick point allows for a faster load and release—ideal for catching a goalie off guard.
A moderate flex helps generate power without sacrificing control, while a curve with an open face lifts the puck cleanly. To learn more about equipment choices, check out our guides on understanding hockey stick curves and the best stick flex for slap shots.
Players should also review how to pick the perfect stick to ensure their gear matches their shooting style. When choosing a stick, consider not just general specs but how they perform specifically in a one timer situation. The right stick flex for one timers allows you to load energy quickly and release it with minimal lag, even when the puck arrives at high speed. Pairing the right flex with an open-faced curve gives you the best chance of lifting the puck cleanly into scoring areas, whether it’s a cross-ice feed or a quick setup in front of the net.
Drills to Practice Your One Timer
Repetition builds your confidence and muscle memory. Start with stationary setups, using a teammate or passing machine to deliver pucks at consistent speeds. Once comfortable, progress to movement-based drills that simulate in-game conditions.
Incorporating quick release shots into your training will help you adapt to various pass speeds and angles. For structured options, explore hockey shooting drills to try at home to keep your skills sharp off the ice.
Professional teams often run “pass-and-shoot” circuits that mimic power play situations, encouraging players to execute one timers under pressure. Adding competitive elements to these drills, such as timed shooting rounds or accuracy challenges, keeps players engaged and focused. By mixing in drills that replicate common game situations, you’ll develop the ability to execute this shot instinctively when the opportunity arises.
Take Your Shot—Literally
Every hockey player, from beginners to pros, benefits from mastering the one timer in hockey. It adds a dangerous scoring dimension to your game, helps capitalize on fleeting openings, and challenges opposing defenses.
Beyond technique, don’t overlook stick maintenance—our hockey stick taping tips can help you improve your grip and control during high-speed shots. To refine your power game, learn how to improve slap shot accuracy.
When you’re ready to upgrade your gear, Pro Stock Hockey offers elite-level sticks designed for fast releases and precise control. Shop Pro Stock Sticks to Nail Your Next One Timer.